
Yesterday, I wrote an article describing the basic way to get a Next Experience component rendering inside a Service Portal widget. I left that article with two further questions:
- How can you listen to events that are dispatched by the component from within the Service Portal widget?
- How can you pass objects into the properties of the component from the Service Portal widget?
A key to answering both of these questions is that Next Experience components are heavily based on Web Components, which are part of the standard web toolkit available in all modern browsers.
The UI Framework is a framework built on web components, built to stand the test of time. The internal implementation details, including the view technology, are free to change in the UI Framework and Next Experience Components, while the component contract, properties in and actions (events) out, remains intact.
This simple API contract, backed by a web standard, frees engineers and teams from the churn they have endured for years.
That is the promise of the UI Framework on Next Experience.
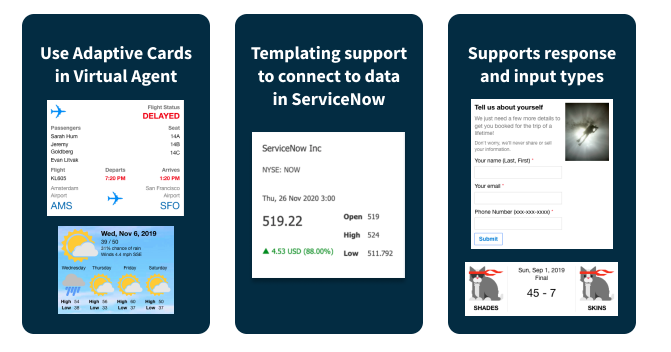
UI Framework on Next Experience – https://developer.servicenow.com
In this article, I’ll step you through the answer to both of these questions.
Events
For this example, I’ll use this button component I created called snc-wds-alc-button, which is part of my snc-wds-alc project. The component has two properties, and emits the event SNCWDSALC_BUTTON#BUTTON_PRESSED when it’s clicked.

snc-wds-alc-button componentIf we use the method from my previous article to add it to the widget, we will have a HTML template that looks like this:
<div>
    <snc-wds-alc-button label="Test Button" type="Primary"/>
</div>
And a link function which looks like this:
function link(scope, element, attrs, controller) {

    (async () => {
        try {
            // replace the URL in the following with that of your component's source script file.
            await import("/uxasset/externals/snc-wds-alc/index.jsdbx");
        } catch (e) {
            console.log('an error occurred', e);
        }

    })();

}
As I mentioned previously, Next Experience components are basically just web components, and so we can use the same methods to listen to events as we would with web components. An example of this is the addEventListener() method.
Within our link function, we can make use of addEventListener() to listen for the SNCWDSALC_BUTTON#BUTTON_PRESSED event:
function link(scope, element, attrs, controller) {

    (async () => {
        try {
            // replace the URL in the following with that of your component's source script file.
            await import("/uxasset/externals/snc-wds-alc/index.jsdbx");
        } catch (e) {
            console.log('an error occurred', e);
        }
    })();

    element[0].addEventListener("SNCWDSALC_BUTTON#BUTTON_PRESSED", function(event) {
        console.log('The button was pressed!', event);
    });

}
Now, when we click the button and look in the console, we can see our code reacting to the event was executed! We also have access to the event data via the first parameter of the callback function we passed in to addEventListener().

console.log() message appearing in our console after pressing the button.Properties
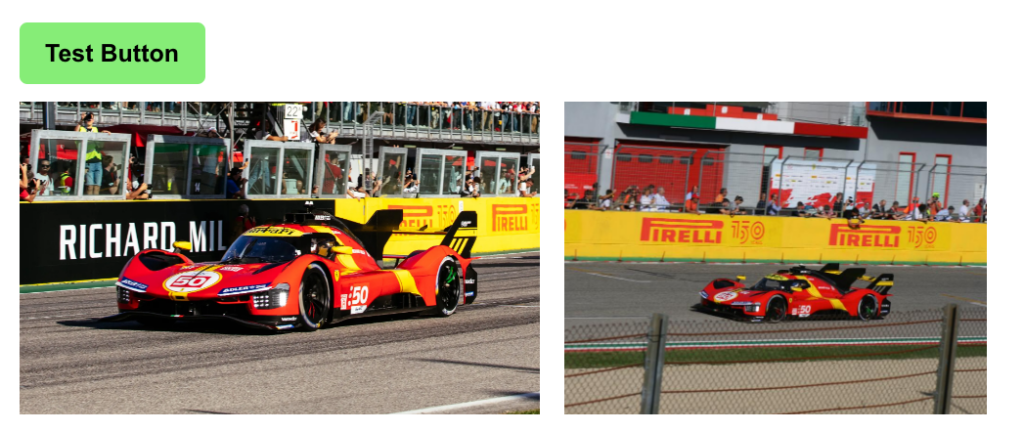
For next example of using properties, I’ll use another component from my snc-wds-alc project called snc-wds-alc-detail-gallery. It has a single property called images, which accepts an array of objects, each having a url property pointing at an image. It renders each image next to each other.
snc-wds-alc-detail-gallery component, supplied with an array of 3 objects having a url property pointing at an image URL.We’ve continue working with the widget in the previous step, which is already importing the source script for our component project.
Let’s add this component to our HTML template:
<div>
    <snc-wds-alc-button label="Test Button" type="Primary"></snc-wds-alc-button>
    <snc-wds-alc-detail-gallery></snc-wds-alc-detail-gallery>
</div>
You’ll notice that even though I mentioned this component has an images property, I’m not supply it here. Because our HTML template is not JSX, we can’t pass objects or arrays into the properties in-line like we would with regular strings (like we are with the button component). Instead, we have to supply the property somewhere in our JavaScript.
Back in our link function, we can do this like the below:
function link(scope, element, attrs, controller) {

    (async () => {
        try {
            // replace the URL in the following with that of your component's source script file.
            await import("/uxasset/externals/snc-wds-alc/index.jsdbx");
        } catch (e) {
            console.log('an error occurred', e);
        }
    })();

    element[0].addEventListener("SNCWDSALC_BUTTON#BUTTON_PRESSED", function (event) {
        console.log('The button was pressed!', event);
    });

    element[0].getElementsByTagName('snc-wds-alc-detail-gallery')[0].images = [{
        url: "https://i2.wp.com/images.hgmsites.net/hug/2023-ferrari-499p-lmh-race-car_100862557_h.jpg"
    }, {
        url: "https://upload.wikimedia.org/wikipedia/commons/2/2d/Ferrari_499P.png"
    }];

}
As you can see, we’re finding the snc-wds-alc-detail-gallery within our widget and setting the images property directly on it. It’s important to note that we are doing this outside the async/await block, and so it is not necessary to wait until our source script has been imported until we set properties.
When we open the portal page containing our widget, we can see that the properties are being accepted and used by the component!
snc-wds-alc-button dispatching an event, and snc-wds-alc-detail-gallery accepting an array as a property.Conclusion
The ability to supply a Next Experience component with properties of all accepted types, and to react to its event within a Service Portal widget makes it totally realistic proposition for ServiceNow developers to use Next Experience components in Service Portal widgets. This will provide a big advantage to ServiceNow developers looking to ensure they are reducing the amount of code they are writing, and to future-proof development work they are doing on the ServiceNow platform.
1 thought on “Using Next Experience Components in Service Portal: Part 2”