
The Now Experience UI Framework is something radically new in the Orlando release of ServiceNow. It’s a major step forward from what has existed in any previous releases of ServiceNow as far as UI technology goes. While it’s still very much an emerging area of the Now Platform, now is a great time to get your head around it and get its core concepts bedded in so as new features are added, you can layer on the knowledge rather than having to learn everything in one (potentially overwhelming) go. I mean, everyone’s got a lot of free time nowadays right?
The official ServiceNow Developers site does a great job at explaining the reasoning behind the introduction of this framework, and a lot of the more technical details. I thought I would focus for this post on a short, but easy to follow guide on getting your computer setup to develop components locally, and how to accomplish some tasks which may seem a bit confusing at first when coming from a traditional ServiceNow background.
I’ve been using a Mac as my primary home computer since 2013, and my primary work computer since I started at ServiceNow in 2015. Apologies to all the Windows users out there – hopefully the instructions are not too different for you! Let me know in the comments if your experiences are any different.
Installing Now CLI
The first thing you will need to do is install Node.js, if you haven’t already got it installed. As of writing, you will need version 12.16.1, which is the current long term support release.
Node.js comes with Node Package Manager (NPM), which we will use to install the Now CLI. In your terminal, once you have Node.js installed you just need to run the following simple command and NPM will install it globally (-g) for you.
npm install -g @servicenow/cliInstalling Now CLI globally means that you will be able to use it from any directory, rather than just the one your project is in (i.e. locally).
Logging In
Before we create a project, we’ll connect Now CLI to an instance to allow us to ensure the scope we use for our project is valid and unique, and to allow us to deploy the project once we’re ready.
In our terminal we want to run the login command, in the format below:
now-cli login [host] [method] [username] [password]For example:
now-cli login https://myinstance.service-now.com basic myUsername myPasswordOnce we run it, we’ll get a message similar to the below:
✔ Connection to 'https://myinstance.service-now.com' successful. Credentials saved.
Instance version: Orlando
It’s as simple as that! You can run this command again at any time if you want to change the instance you’re logged in to.
Creating a Project
Now that we’re connected to an instance, we can create our project. For this, we will use the project command, in the format below:
now-cli project --name projectName --description myDescription --scope myScopeBelow you can see a description of what each of these options mean:
| Option name | Description |
|---|---|
| –name | An NPM-compatible name for your project. An ecosystem of official ServiceNow, customer, and partner components will be published to NPM. If you want to publish yours on NPM it will need to have a compatible name. This is in the format of @npmScopeName/projectName. You’ve actually already seen a project like this, when you installed the Now CLI (@servicenow/cli)!The project name part of the name should be the name of the main component in your project. |
| –description | A meaningful description for your project |
| –scope | A scope name for your project. Now Experience UI Framework projects are deployed to instances into scoped applications. This can either be a scoped application exclusive to the project, or an existing scoped application containing other records (tables, script includes, etc). If you’re specifying a new scope name, as with all scope names in ServiceNow the one you specify must conform to the following requirements: – It must not exceed 18 characters – It must be “snake cased” (e.g. my_scope_name)– It must be prefixed with your company’s scope prefix (e.g. x_mycomp_[...])If the scope name you specify does not conform to the above requirements you may not be able to deploy the project to an instance, or move the scoped application between instances using the application repository. You don’t have to supply this parameter, but if you don’t you can’t use the --offline option. |
| –offline | If you specify this option Now CLI won’t connect to the instance you’re logged in to to verify that it’s a valid scope name, or to generate one automatically for you. |
Some of the files that will be created are:
| File name | Description |
|---|---|
| now-cli.json | Use this to configure the local development environment, and other Now CLI settings. |
| now-ui.json | Contains information about what components you’ve got in your project, so that when you deploy the necessary records can be created in the instance. |
| package.json | Contains information about the project, as well as dependencies. For example, in one of your component you might want to use the now-button component. You’d need to list that as a dependency here. |
| /src | Where you create your components. |
| /src/index.js | A file that contains links to all the components in your project. |
| /src/componentName | An individual component. |
| /src/componentName/styles.scss | Styles for the component. |
| /src/componentName/index.js | A component. |
| /src/componentName/__tests__/ | Tests for the component. |
| /src/componentName/__tests__/test.componentName.js | A component test. |
| /example/ | Contains assets for the local development environment preview. |
| /example/index.js | When running the local development environment, the contents of this file will be what you see in the browser preview. |
The project command will create all the necessary files to start our project, however we need to install the project’s dependencies as well, which we can do by running NPM’s install command from within the directory.
npm installThis can take a while, perhaps make a ☕️ or 🍵 while you wait!
Developing Locally
That’s it, we can now start developing!
One of the biggest changes with developing components using Now CLI compared to what it is like in other parts of ServiceNow is the fact that you develop locally, not with an IDE on an instance accessed within your web browser. This really speeds up development, as your computer doesn’t need to reach out to a ServiceNow instance so often (once to save your code, again to view how the changes affected your app). All the assets are on your computer, so saving and refreshing is almost instantaneous. You can also use whatever your preferred local IDE is, such as VS Code or WebStorm.
This also means that once you’ve got your dependencies installed, you can potentially develop components without even needing to be connected to the internet!
To start a local development server, in your terminal run the develop command.
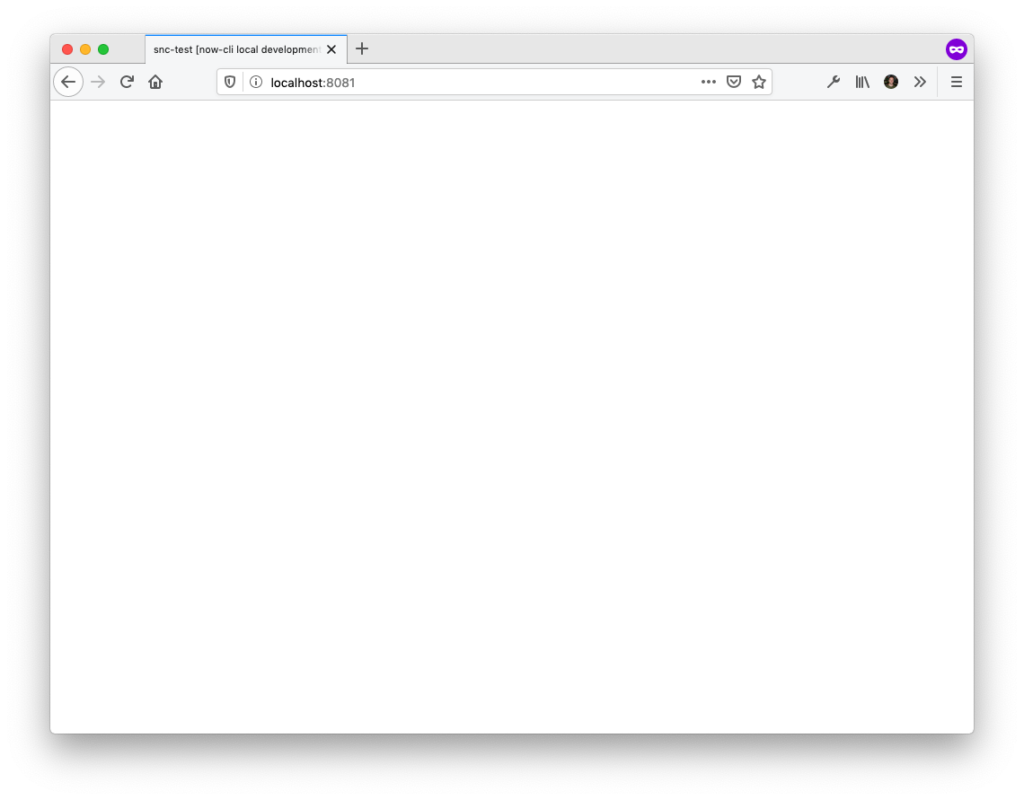
now-cli developOnce the command runs it will output a web address which you can open in your web browser. This is how you access your component running locally!
「wds」: Project is running at http://localhost:8081/Simply open that URL in your web browser to see it in action:
Now CLI automatically watches the file system, and as you save changes to source the browser window will automatically reload and show your changes.
At the moment the component is extremely boring, only showing a blank white page. In the next article we will cover how we can code a basic component.
Proxying Requests
Not everything will be local. For example, if you wanted to show a list of users in your component, you’re not going to keep a copy of all that locally. However, you also don’t want to hard-code it to a particular instance, as you will move the component between dev, test, and prod instances. You’ll also potentially share the component with the world, in which case you have no idea what instance it may be running on.
To get around this, the local development environment supports proxying requests. In your component, when you make web requests as long as you use a relative address (/api) and not an absolute one (https://myinstance.service-now.com/api) the message will be received by the local development server. When it receives one of these requests, and you’ve configured that path to be proxied, it will pass the message on to the ServiceNow instance. The benefit here is that when you deploy the project to an instance, because they are relative addresses, they will continue to work.
To set up proxying, we need to stop the development environment, and then open now-cli.json. In there, on the first few lines (probably 3-9) you’ll see the below:
"proxy": {
      "origin": "http://localhost:8080",
      "headers": {
        "Authorization": "Basic YWRtaW46YWRtaW4="
      },
      "proxies": []
    },
We want to update this to point to our actual ServiceNow development instance:
"proxy": {
      "origin": "https://myinstance.service-now.com",
      "port": 443,
      "headers": {
        "Authorization": "Basic YOUR_BASICAUTH_HERE"
      },
      "proxies": ["/api", "/amb"]
    },
What the above will do is whenever the local development server receives a request at /api or /amb (used for record watcher, chat, etc) it will pass on the message to your instance, receive a response, and then return that response to your browser. It will be like you’re actually running ServiceNow locally!
One thing to point out here is the authentication. In the example above, I have the text YOUR_BASICAUTH_HERE. For this you want to enter your authentication details for the instance, in the format username:password, and it needs to be base64 encoded. Using the website base64encode.org I can see the encoding of the string admin:admin is YWRtaW46YWRtaW4=, so if this was my username and password the value for that property would be Basic YWRtaW46YWRtaW4=.
Images, Videos, and Sounds
As with the above, we’re not going to include every image, sound, and video we may want to use in our component inside the package. This could lead to some really big JavaScript files! Instead, we will upload them to the instance to the appropriate location, and then using the proxying technique we learnt above, proxy the request to those files as well.
Small Images
For small images though, such as icons, we can just deploy them with the package. To do this, just copy them into the same directory as your component. Once you’ve done that, at the top of the index.js of your component, add a line similar the below:
import myImage from './myImage.svg';And then when you want to use your image, you can do it inside your JSX similar to the below:
<img src={myImage}/>Everything else
For everything other than small images, you’ll first need to upload your asset to the instance. In ServiceNow, the appropriate place to store the various files is listed below:
| Type | Table |
|---|---|
| Image | db_image |
| Sound | db_audio |
| Video | db_video |
So upload your files to the table above, in the same scope as your component, and then we can move on to the next step.
For each of the files above, when you’ve uploaded them you’ll have a link. For example, if I’d uploaded myImage.svg into the db_image table on my instance, it would be accessible through the URL https://myinstance.service-now.com/myImage.svg.
Now it’s uploaded, all I need to do is add this as an extra proxy entry in my now-cli.json
"proxies": ["/api", "/amb", "/myImage.svg"]And when I want to use my image, in my JSX make sure I’m using a relative link like below:
<img src="/myImage.svg"/>This process works for images, audio, video, and can apply for any other asset on the instance (like attachments!).
Conclusion
I hope this has helped get you started on the road of component development in ServiceNow using the Now Experience UI Framework. If you have questions, leave them in the comments below, and follow me on Twitter for notifications whenever a new post is made on here.